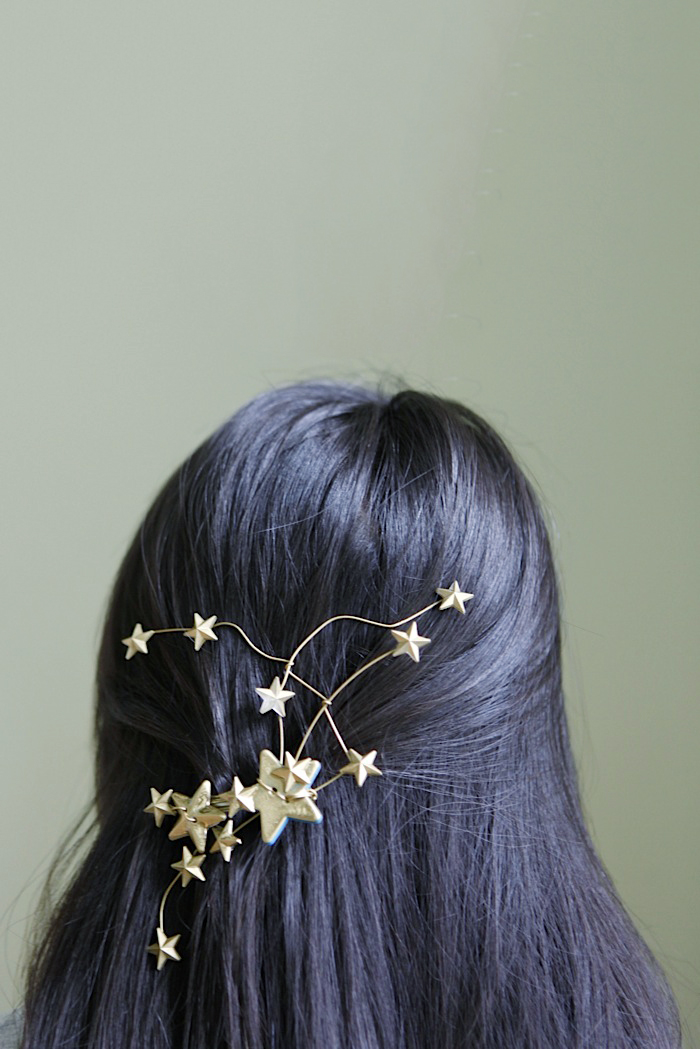
DIY RODARTE STAR HAIR PINS
SUPPLIES
I purchased everything from two big box craft stores: Michaels and AC Moore.
MICHAELS: jewels, wire and gold spray paint
AC MOORE: buttons and barrettes
I'm using 20 gauge wire.
You will also need pliers and wire cutters. Instead of E6000, feel free to use hot glue.
BASICS
Before we get totally started, let me teach you how to do the 'loop'.
Your stars will be glued to the loops.
Grip the wire with your pliers, then take your free hand, hold one end of the wire and wrap it around to create a loop.
You will do the same for the end of the wire.
Great, now we can get started.
Snip a long piece of wire and slide it through the button holes. Take your pliers and twist the two sides together tightly.
The next steps are where you can get creative.
AN EXPLANATION:
1 and 2. I made a loop.
3. I added a second star and another loop.
4. I added a third star and more loops.
Using one piece of wire, you will be making the skeleton of your barrette.
When the wire runs out, tuck it into the back of one of the button stars.
Set it aside.
Snip a second long piece of wire. Slip it through the ends of the barrette (see below.)
Now take your star piece, and hold it on top of your barrette.
We have to secure these two pieces together, using the wire from the barrette.
For this specific barrette, the star's hole ended up aligning perfectly with the barrette.
Wrap the barrette's wire around the star piece.
If you desire, make more loops with the residual wire.
Add glue to your loops.
Stick on your stars and let dry according to the instructions.
After they're done drying, you're ready to paint!
I'm using spray paint.
Let them dry!
before & after
Don't be afraid to experiment with different shapes!
I also made bobby pins.
To make bobby pins, wrap your pin wire through the middle of the pin, where the curve is.


